
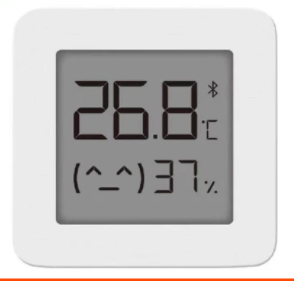
XIAOMI Mijia Bluetooth 4.2 Thermometer Hygrometer 2 LYWSD03MMC
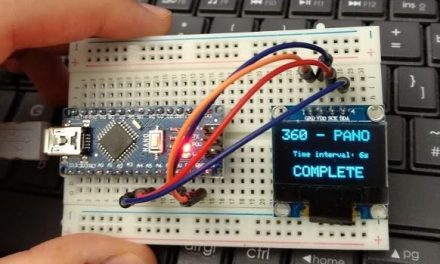
Things you need to make this working: *Home Assistant *ESP32 Devkit v1 or something similar * LYWSD03MMC *a bit of time If you want to use my instruction, please read entirely before any actions. Everything – Working installed 3.4.2021
 First there is few links you should open.
Or you can follow the steps I did. ( I was using Google chrome for connecting & flashing )
- Make sure your Bluetooth is connected to your pc and you can connect to any BLT speaker or something that uses Bluetooth
- Download newest release of the bin file from ( Link )
- Open Flash tool that was available online ( Link )
- Click Connect on website and screech for LYWSD03MMC and press pair button.
- On bottom of the page, you should see log saying Connected.
- Now go back to the top and press Do Activation
- When field Mi Bind Key will display data go back to the top and click
- Click Select Firmware & select bin file you downloaded & Click Start Flashing & wait until status will be 100%. The console should say “Update done after 32.849 seconds” & Disconnected
- Now try to connect the device again. After firmware change it will appear under different name my example is ATC_B880F2 also console should say that “Detected custom Firmware”
- The most important to change is an advertising type. For my esp to read the device I had to change the Advertising Type to: Custom
- I also turned off battery status, I’ve changed Advertising interval to 1 minute & Sensor instant advertising to 0,5 instant alarm
- Now we successfully set up the device. To get a reading in ESP32 we still need and Bluetooth address. We can obtain it by using our mobile phone. In my example ( im using xiaomi phone ) under Bluetooth when you scroll down you will see Available devises -> then Rarely used devices.
- The point here is that we must know the mac address of the device.
- Then all left to do is enter that configuration into configuration file of my ESP32 example:

Those are steps I did to make my temperature sensor working. Hope it will work for you too.

Don’t forget to enable in your ESP home BLT screeching. Add this to the config.

Update 30/12/2022
– After you write custom firmware and follow the steps shown on the step list
The device should advertise the MAC adress in the name of the BLE device.
And the first part of mac address stays always the same A4:C1:38.
So using my example if ATC_B88OF2 is the name the mac address should be A4:C1:38:B8:80:F2
